Step 3: File Sharing Portal
File Sharing Portal: Introduction
We know you’re busy and we want to make it easy for you to provide this wonderful gift to parents. That’s why we’ve made sure the process is simple and requires little time commitment from your side, through our secure file sharing portal.
Once parents have completed their Request & Photography Consent Forms, it’s time to get you set up on our file sharing portal which allows you to simply share with us the photos for the Click! Calendars and leave the rest to us!
We use Filecamp servers which are located in a secure data centre with 24/7 surveillance, so you can be assured that all photos you share via our portal are private and secure.
Below is a step-by-step guide on sharing the photos to include in each parent’s unique Click! Calendar.
Getting You Set Up
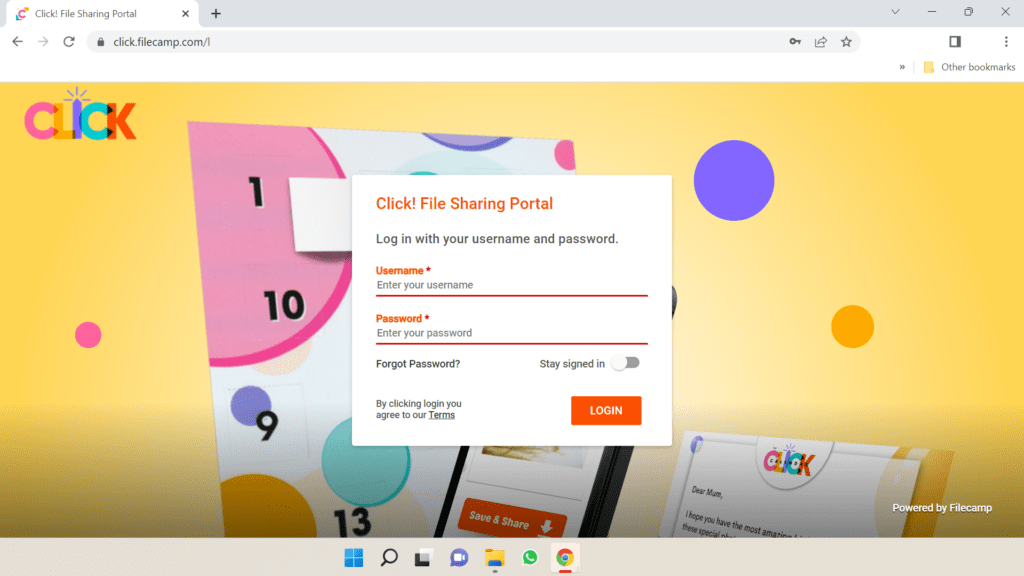
Firstly, we will set you up as a user with access to a folder specifically created for your nursery, which is where you will upload photos. You will be able to access this by going to click.filecamp.com.
However, before you can login you will need to create a password by clicking ‘Forgot Password?’ on the homepage.
Simply enter the email address associated with your account and you will then receive an email for you to create a password.
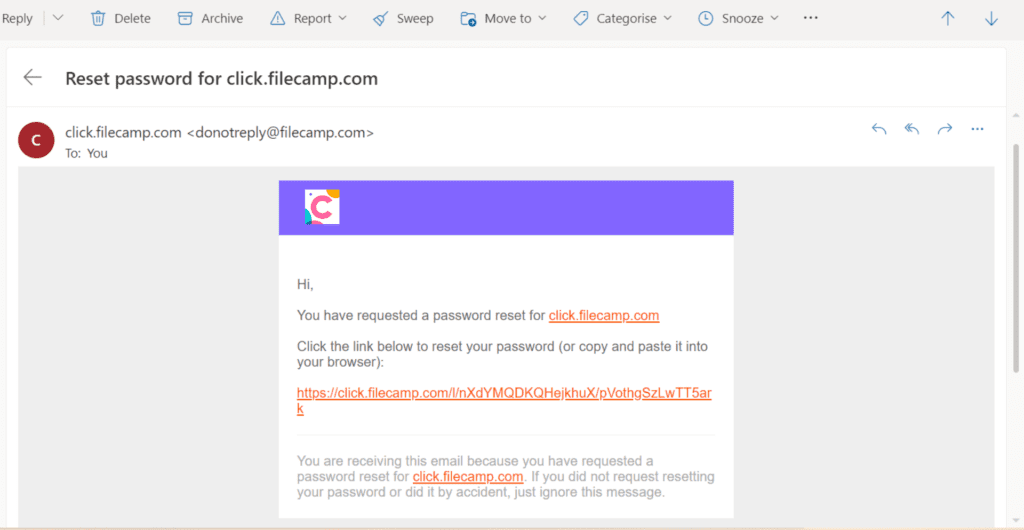
After that, you will be able to go back and login.
Now the next step is to start uploading the photos you have taken for the Click! Calendars.
In order to make it as easy as possible for us to create each parent’s specific Click! Calendar it is important that we know which photos to include in each Click! Calendar. We have therefore detailed below 2 options that you can use for categorising the photos which will ensure a straightforward process for delivering a smile to each parent.
Option 1: Individual Folders
In this option, using the file sharing portal you will create an individual folder for each child which will hold the photos to include in their parents’ Click! Calendar.
1. To create a folder for each child, select the 3 dots to the top right of the page.
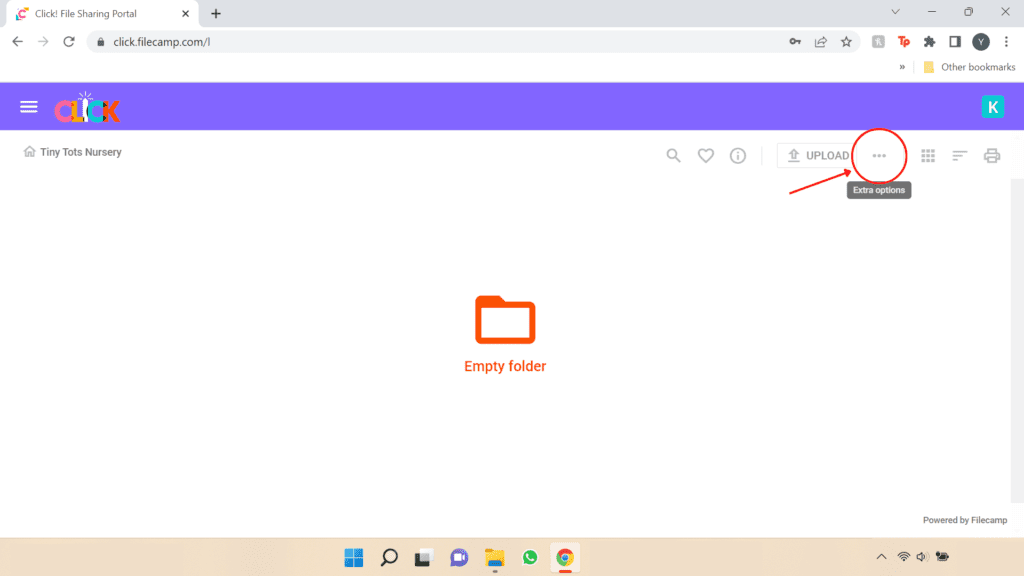
2. From the dropdown, select ‘New folder’.
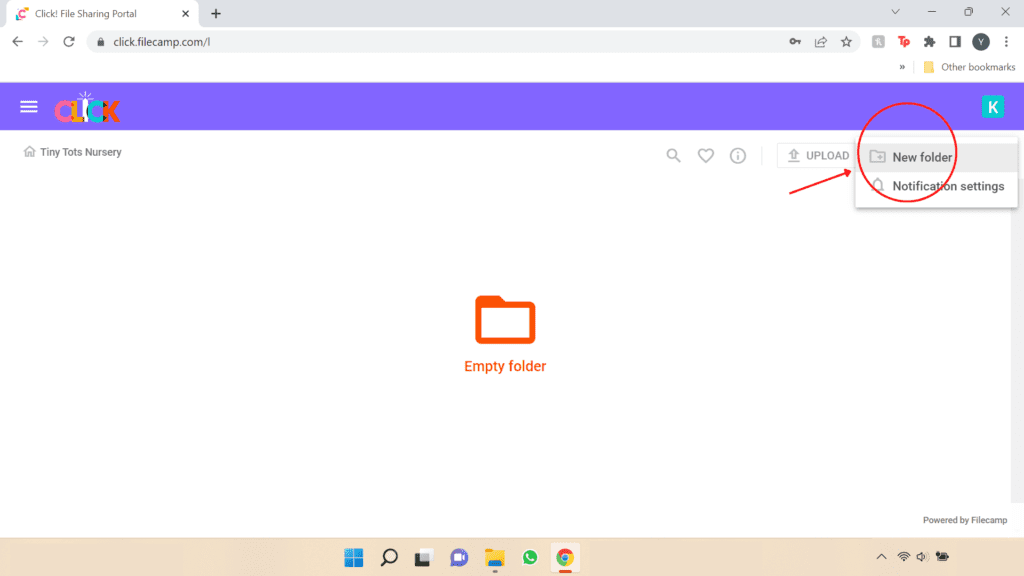
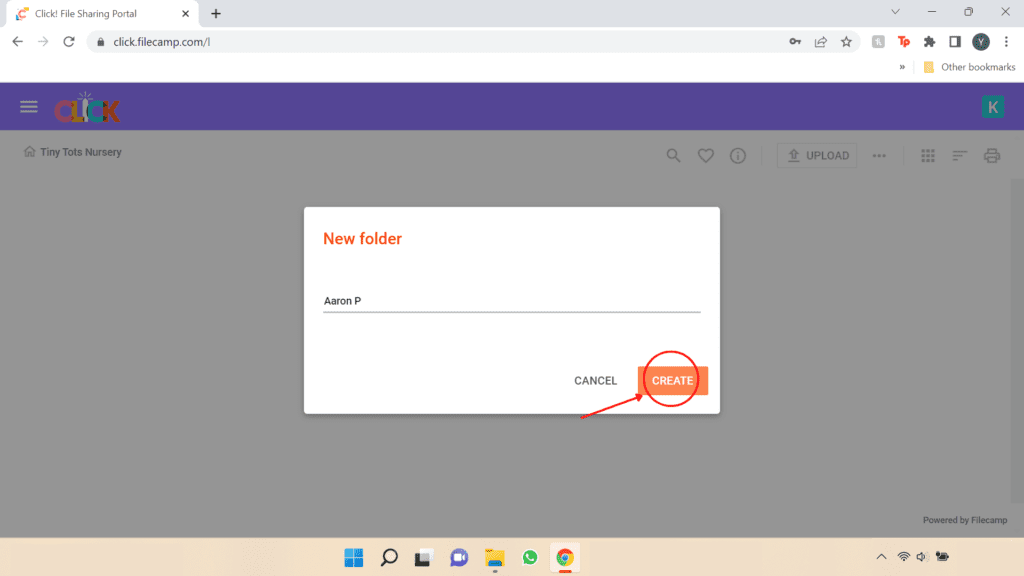
3. Type in the name of the child and click the ‘CREATE’ button to create the folder.
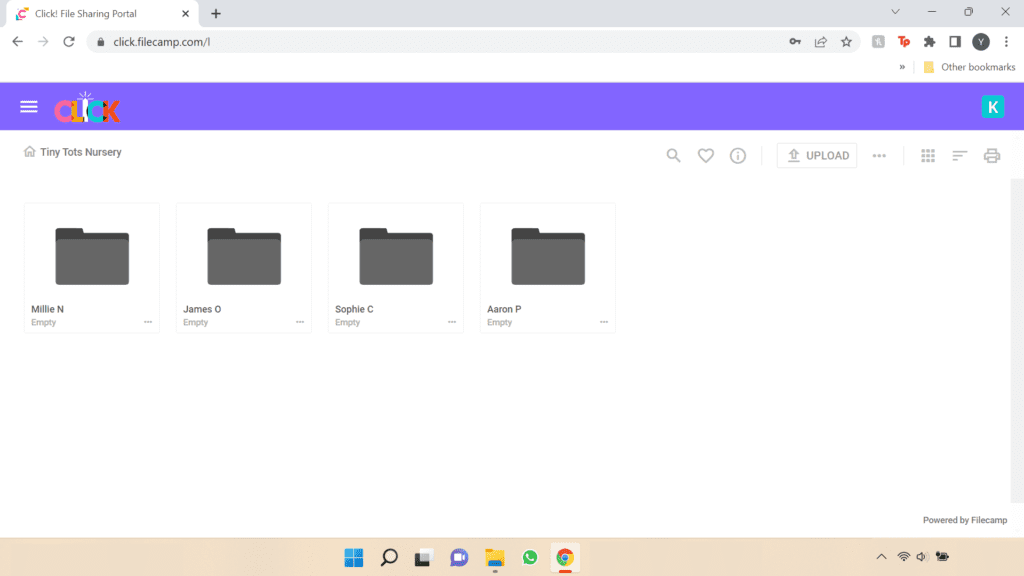
Repeat this for each child so that each has a folder for their respective photos.
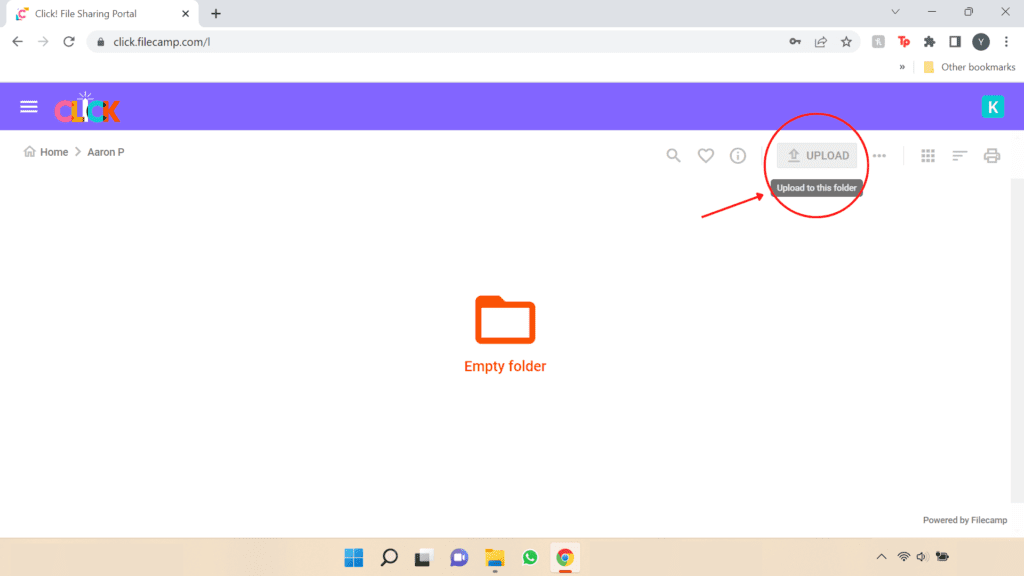
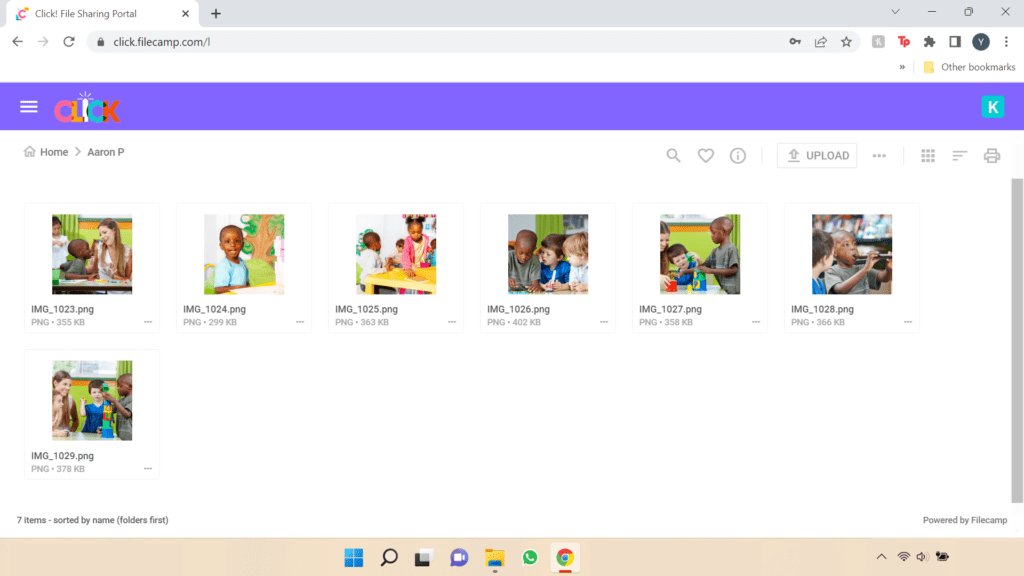
4. To add photos to a folder, go into the folder and select the ‘UPLOAD’ button to the top right of the page.
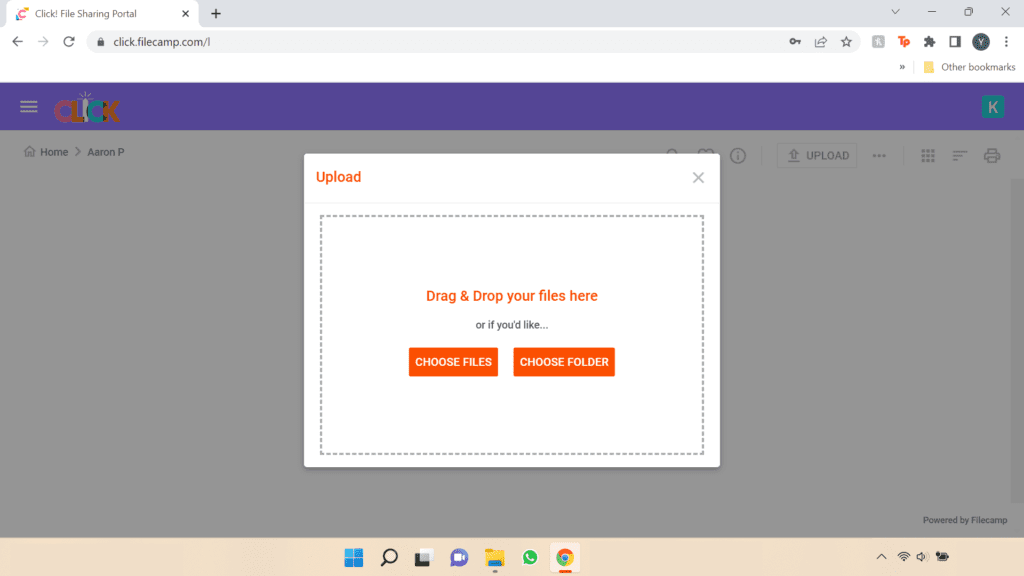
5. Either drag & drop your files into the folder or click the ‘CHOOSE FILES’ folder, click the ‘UPLOAD’ button and the photos will upload to the folder within a few seconds. Lastly, once the photos have successfully uploaded, click the ‘OK, GOT IT’ button.
And voila, that’s it! All that’s left is to repeat this for each folder.
Option 2: Photo Tags
In this option, using the file sharing portal you will upload all the photos to the main folder for your nursery and then add a tag with the child’s name to each photo to indicate the photos to include in their parents’ Click! Calendar.
1. First of all, repeat steps 4 & 5 previously outlined under Option 1 to upload all the photos to the main folder for your nursery.
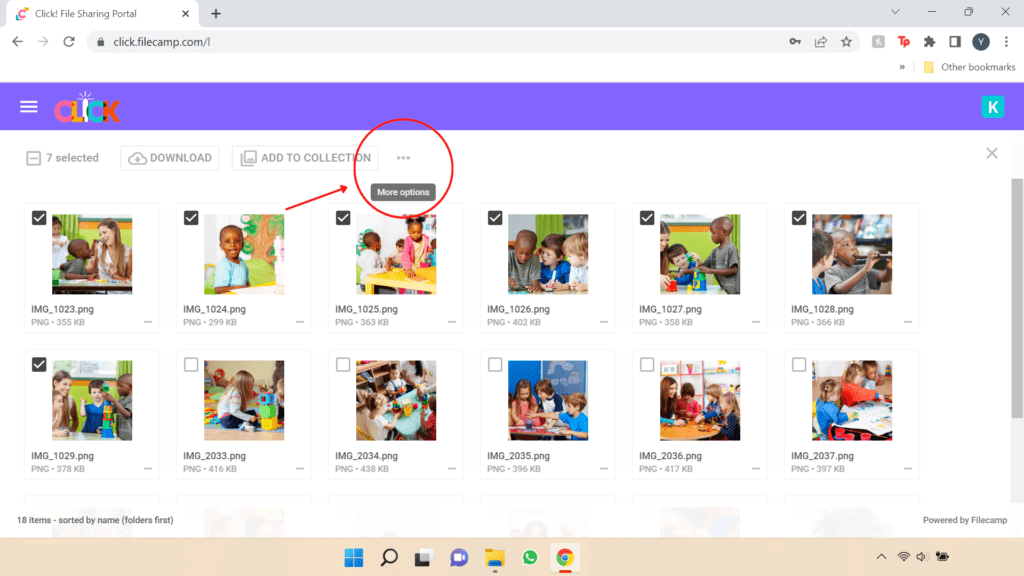
2. Select all the photos to include in a particular parent’s Click! Calendar and then select the 3 dots to the top left of the page.
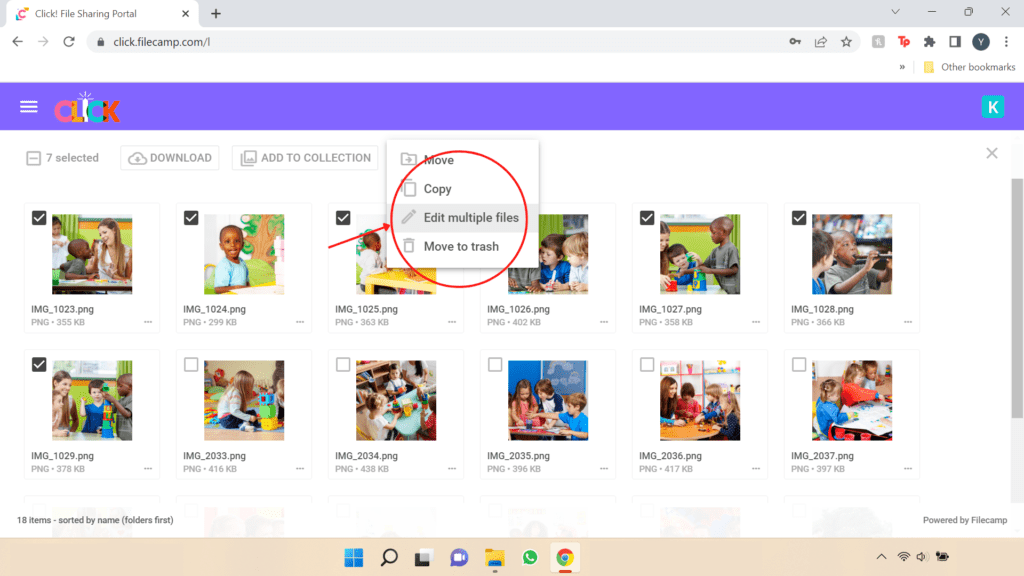
3. From the dropdown, select ‘Edit multiple files’.
4. Under the heading ‘Tags’, type in the name of the child of the parents’ for whom that Click! Calendar relates.
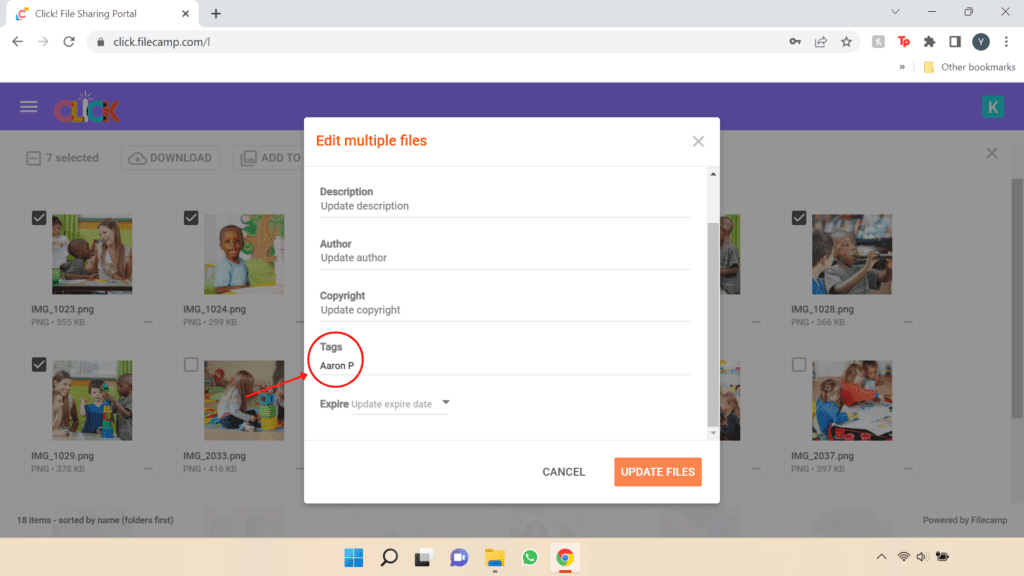
Make sure to press ENTER on your keyboard to ensure the tag is added. You will know it has been added because the text you entered will have an orange bubble around it (see below image).
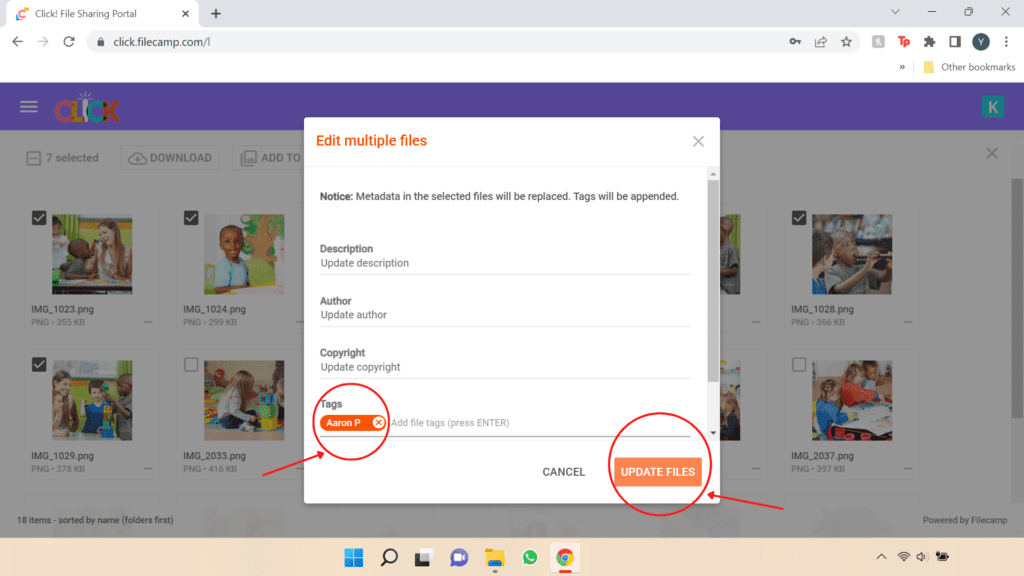
Finally, click the ‘UPDATE FILES’ button and the system will add the tag to the selected photos! All that’s left is to repeat this for each folder.
Additionally, if you want to check you have correctly tagged each photo, simply type the tag into the search bar and press ENTER on your keyboard. This will show all the photos that have this tag attached.
Click! Calendar Details Spreadsheet
Now that we have all the photos, that last thing is to make sure we have all the details of your nursery and the parents to make sure we can fully customise the Click! Calendars to each parent, making the experience all the more special.
In your folder on our file sharing portal we will add a spreadsheet for you to complete with all the last bits of information.
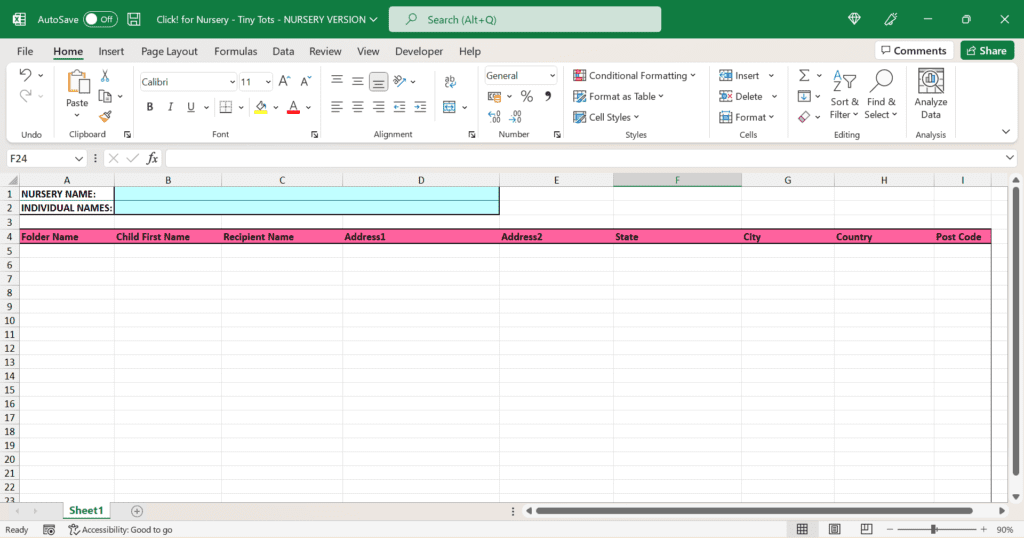
Below is a breakdown of the information you will need to fill in:
- Individual Names – These are the names of any individuals in your team you would like to include as a sender on the message card to the parent. This can be multiple individuals or just one, and include first names only or full names, the choice is yours.
- Folder Name / Tag Name – This is simply to allow us to identify which folder or tag relates to each child. This is more important if you have chosen to give the folder or tag a name which is different to that of the child (i.e. it does not match the column titled ‘Child First Name’).
- Child First Name – This is the first name of the child.
- Recipient Name – This is the recipient of the Click! Calendar relating to the respective child. This would be either the parent or guardian.
- Recipient Address – If you wish for us to deliver the Click! Calendars directly to the parent/guardian, you will need to include their delivery address. Alternatively, you can simply enter the address of the nursery and we will deliver all the Click! Calendars to you so you can give them to parents/guardians personally.
After Using the File Sharing Portal: What’s Next?
That’s it!
You can now sit back and let us take care of the rest. Check out Step 4 next to see the final deliverables.